
Converting your web app to a Progressive Web App with PWABuilder
September 8, 2021 PWA Builder documentationPWABuilder can help you generate the basic technical requirements to convert your web app to a PWA, a web manifest and a service worker.
Note : Don’t have an app yet? Check out our PWA Starter Kit to start building one. The starter kit already includes a web manifest and service worker,
which means you can skip the steps below and get right to building your PWA.
Your Steps:
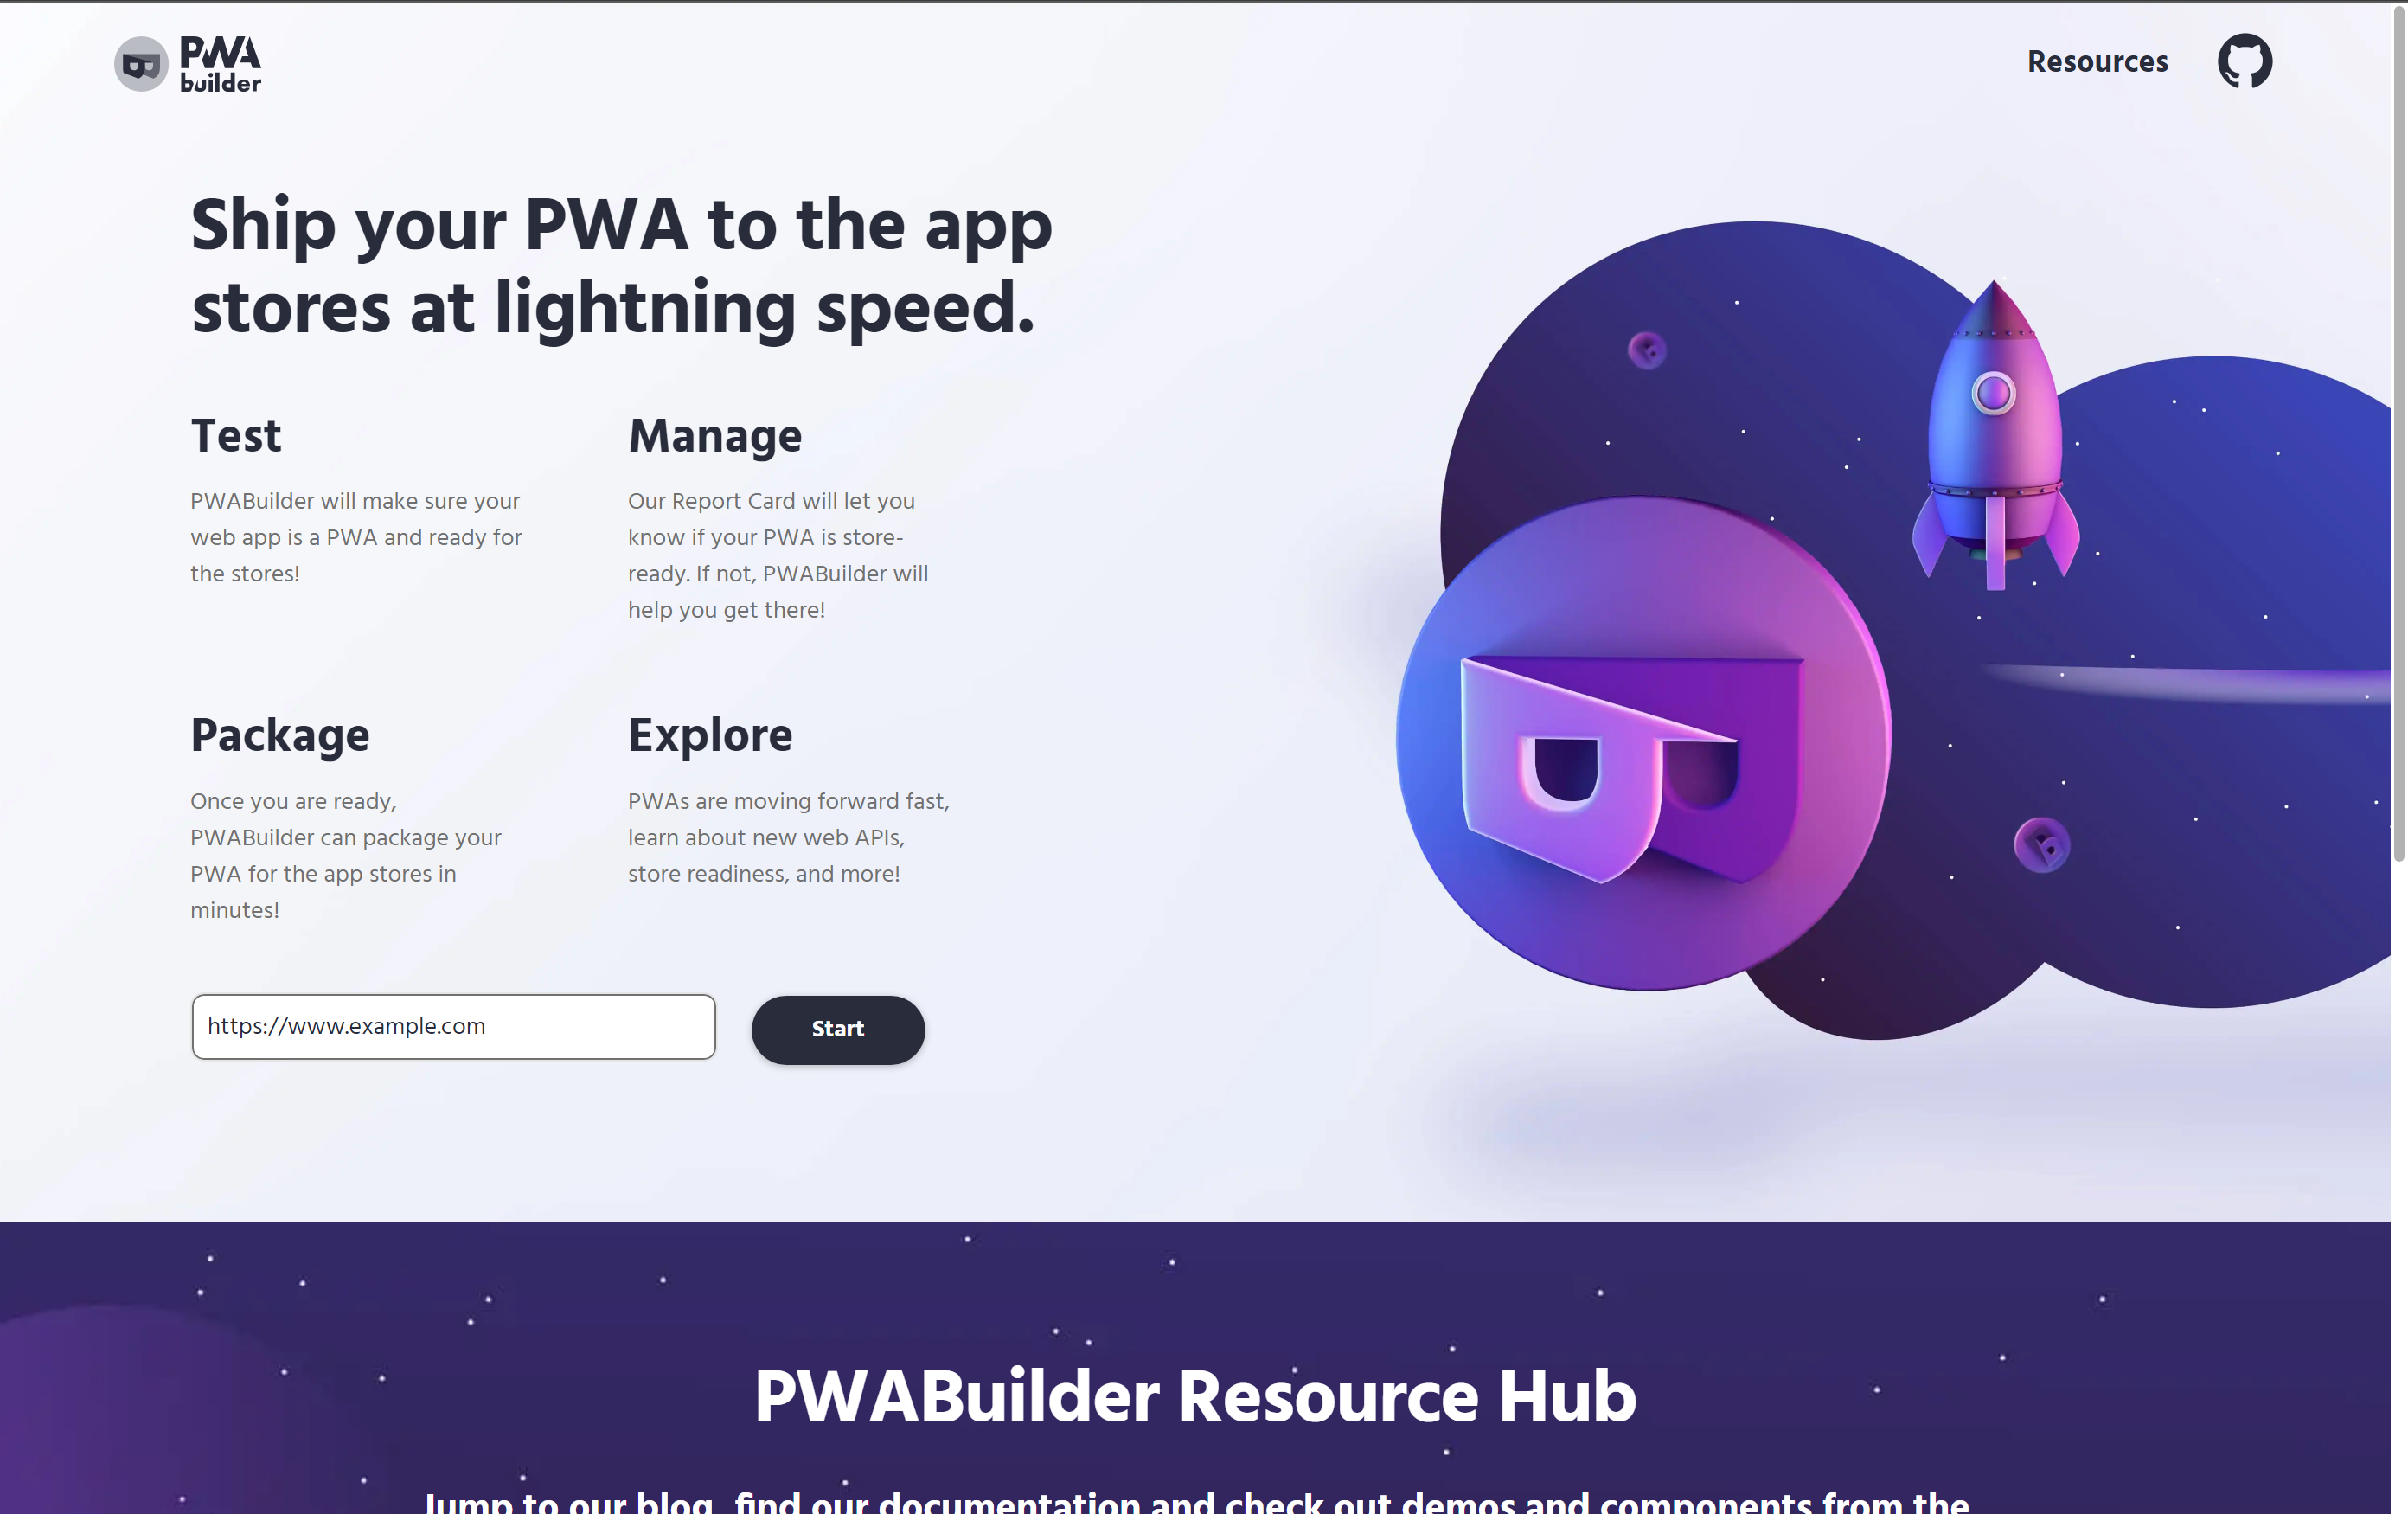
- Enter the URL to your web app in the URL field of PWABuilder:
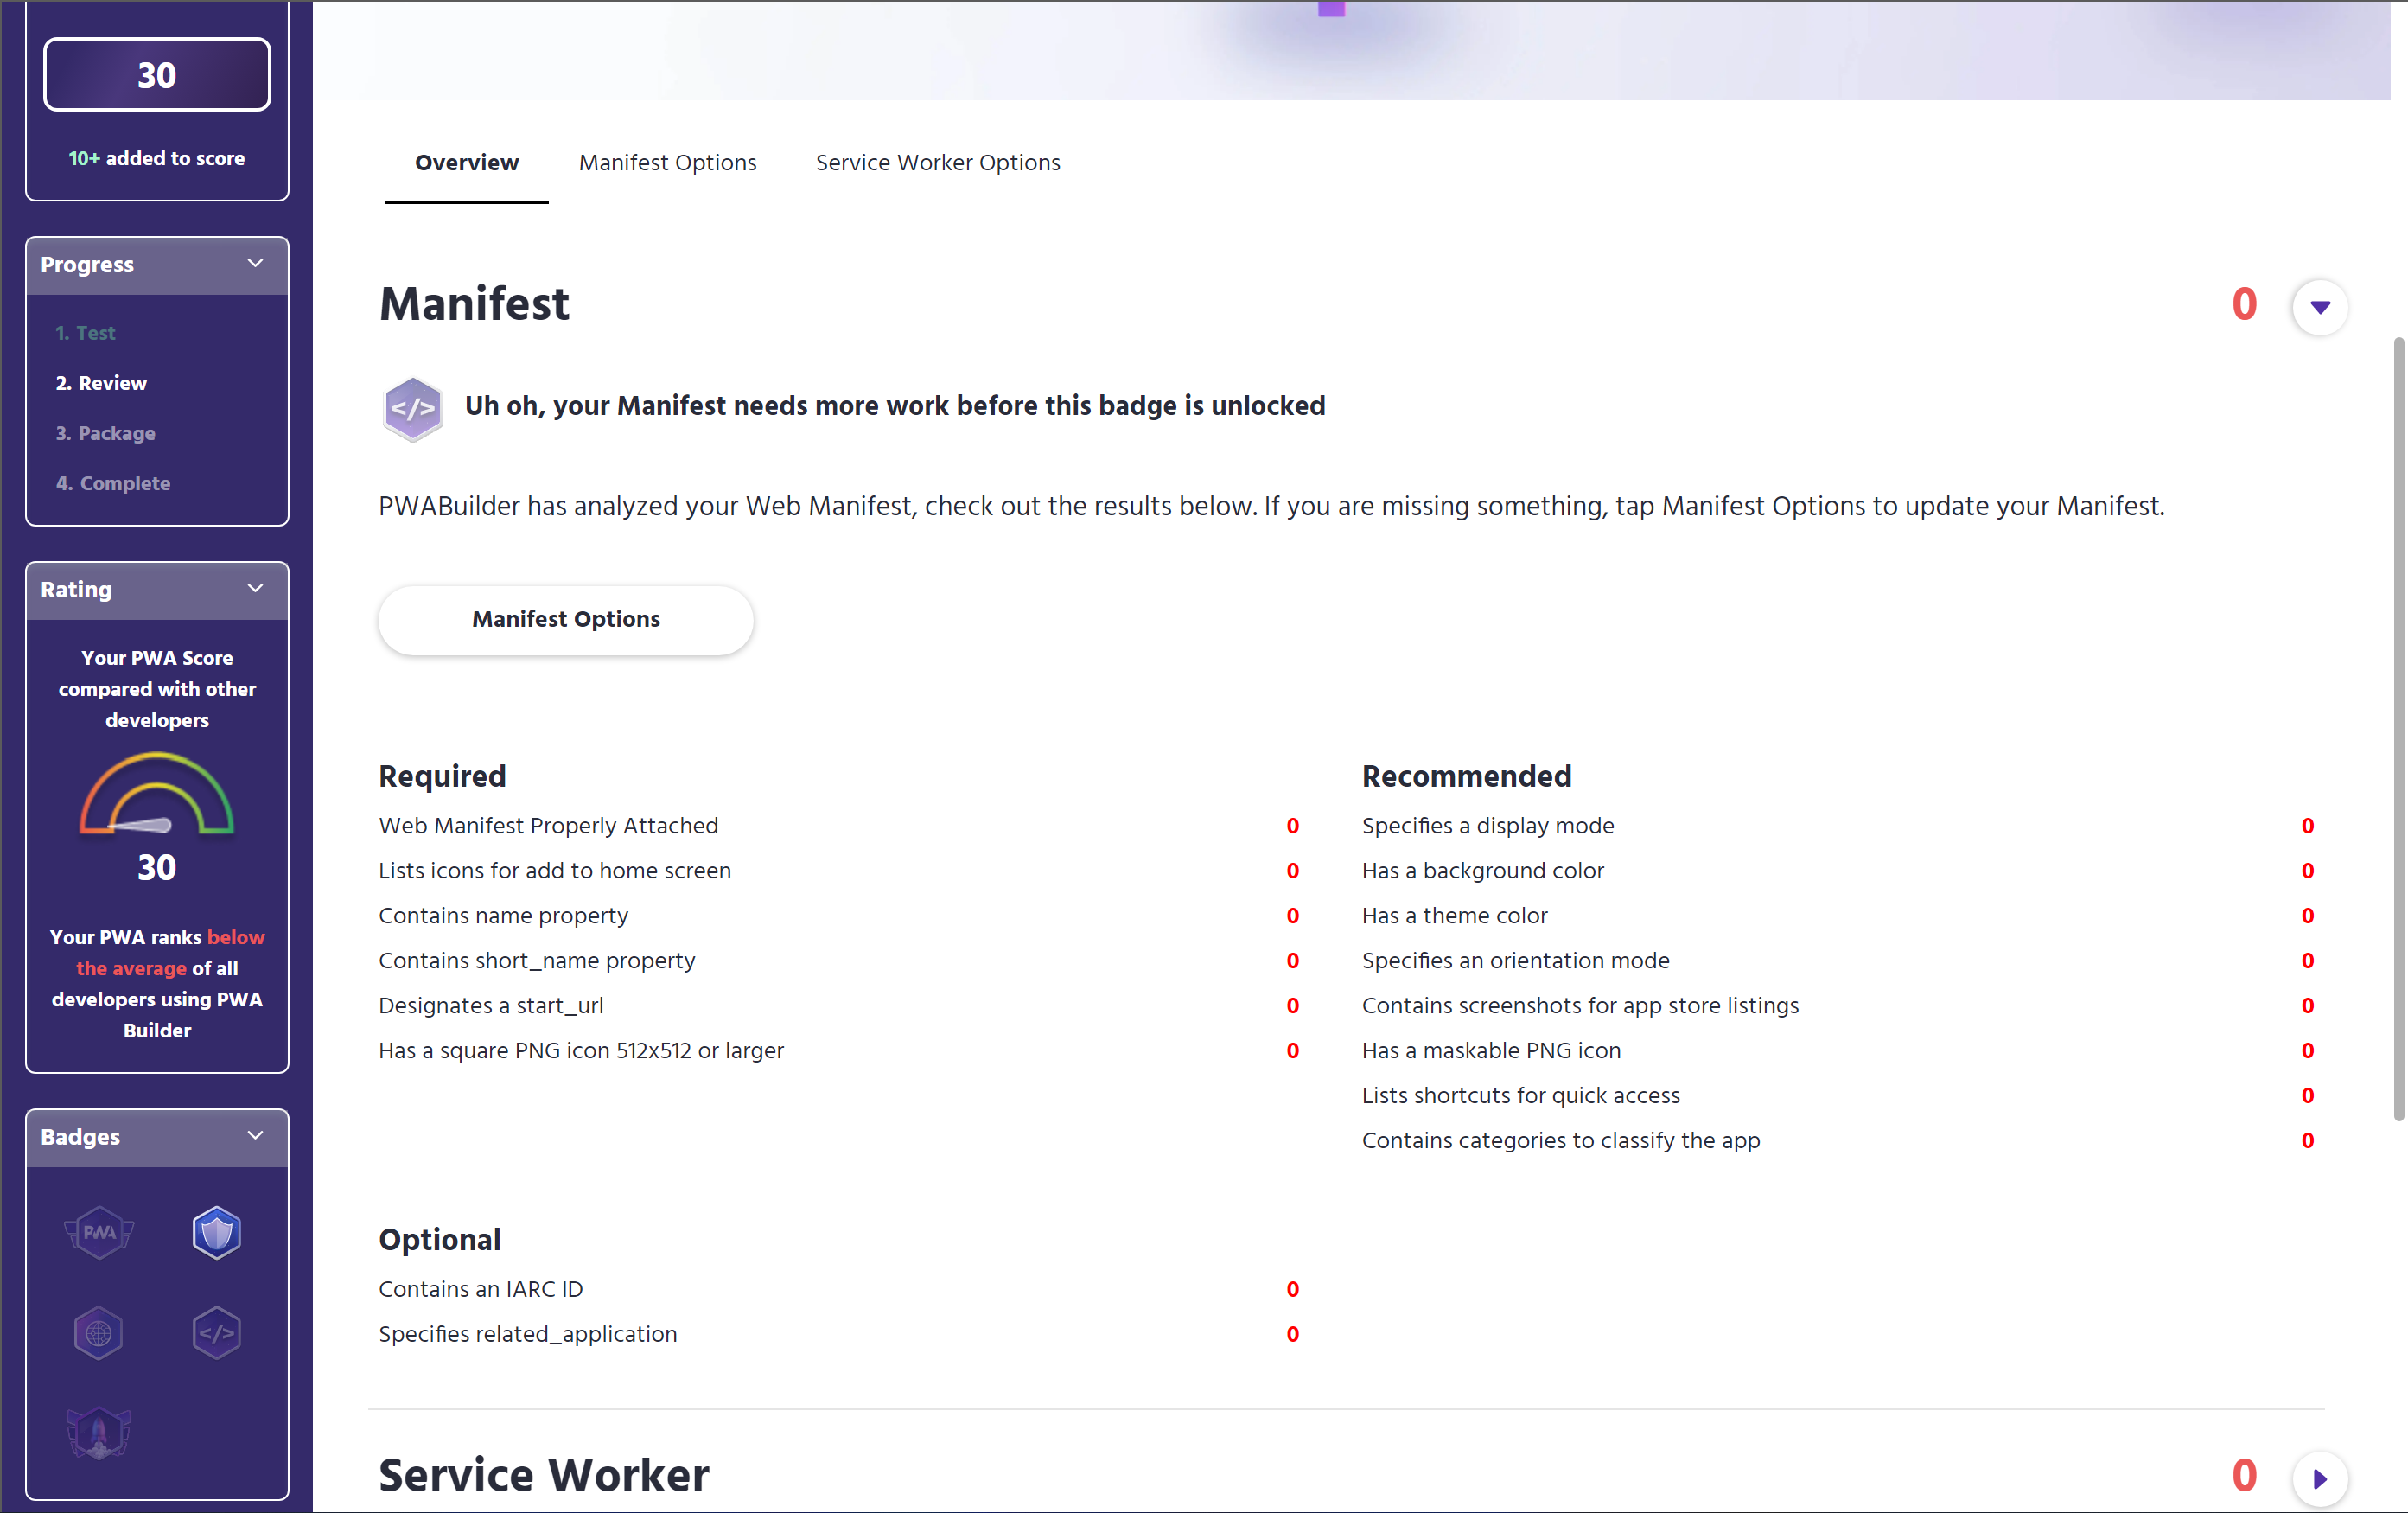
- Notice that you currently score a 0 for both the web manifest and service worker. This is because you have not added them to your web app yet.

- Tap the Manifest score bar to see the details of your score. As you can see, your web app will currently score a 0 for each section. This is ok though, as PWABuilder has generated a basic one for us that we can quickly edit and use. Tap the “Manifest Options” button to start editing your generated web manifest.
- Edit your manifest fields using the manifest editor that is now open. We recommend atleast checking that the name and short_name fields are what you expect them to be.
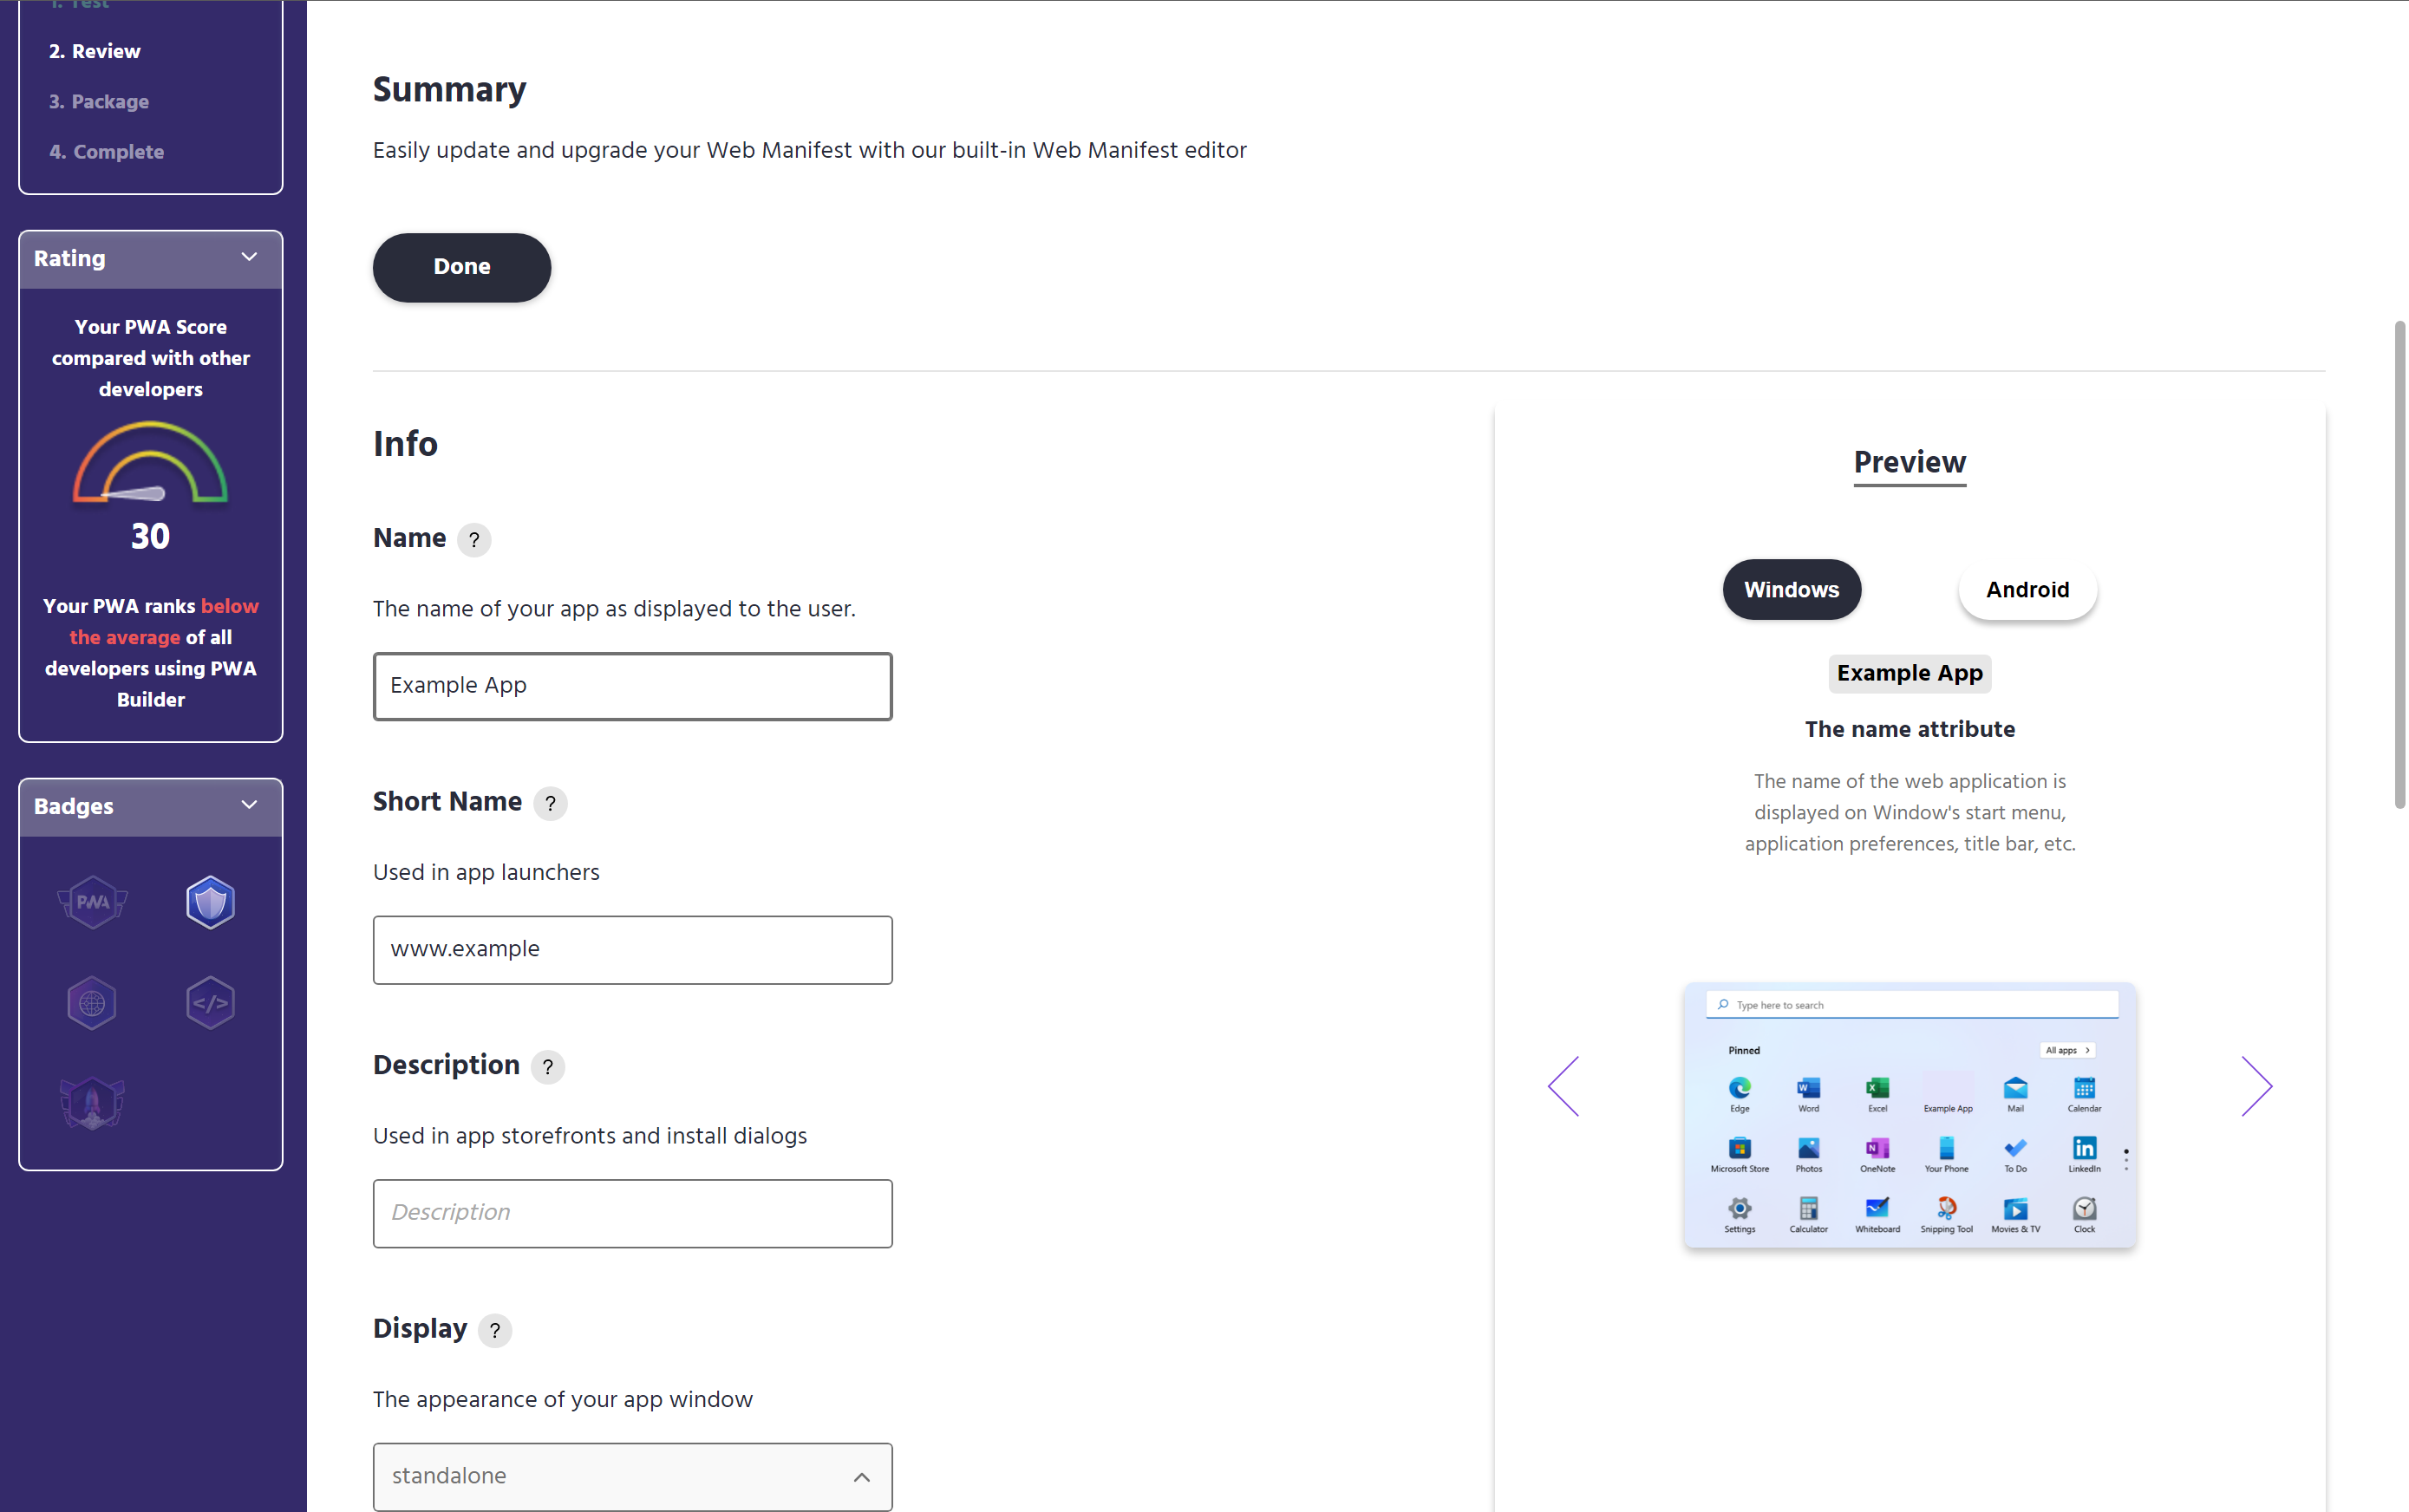
- Scroll down to the Upload App Icons section and tap the Upload button, then just choose your 512x512 icon and tap generate. This will generate all the different sizes of your Icon that PWAs need.
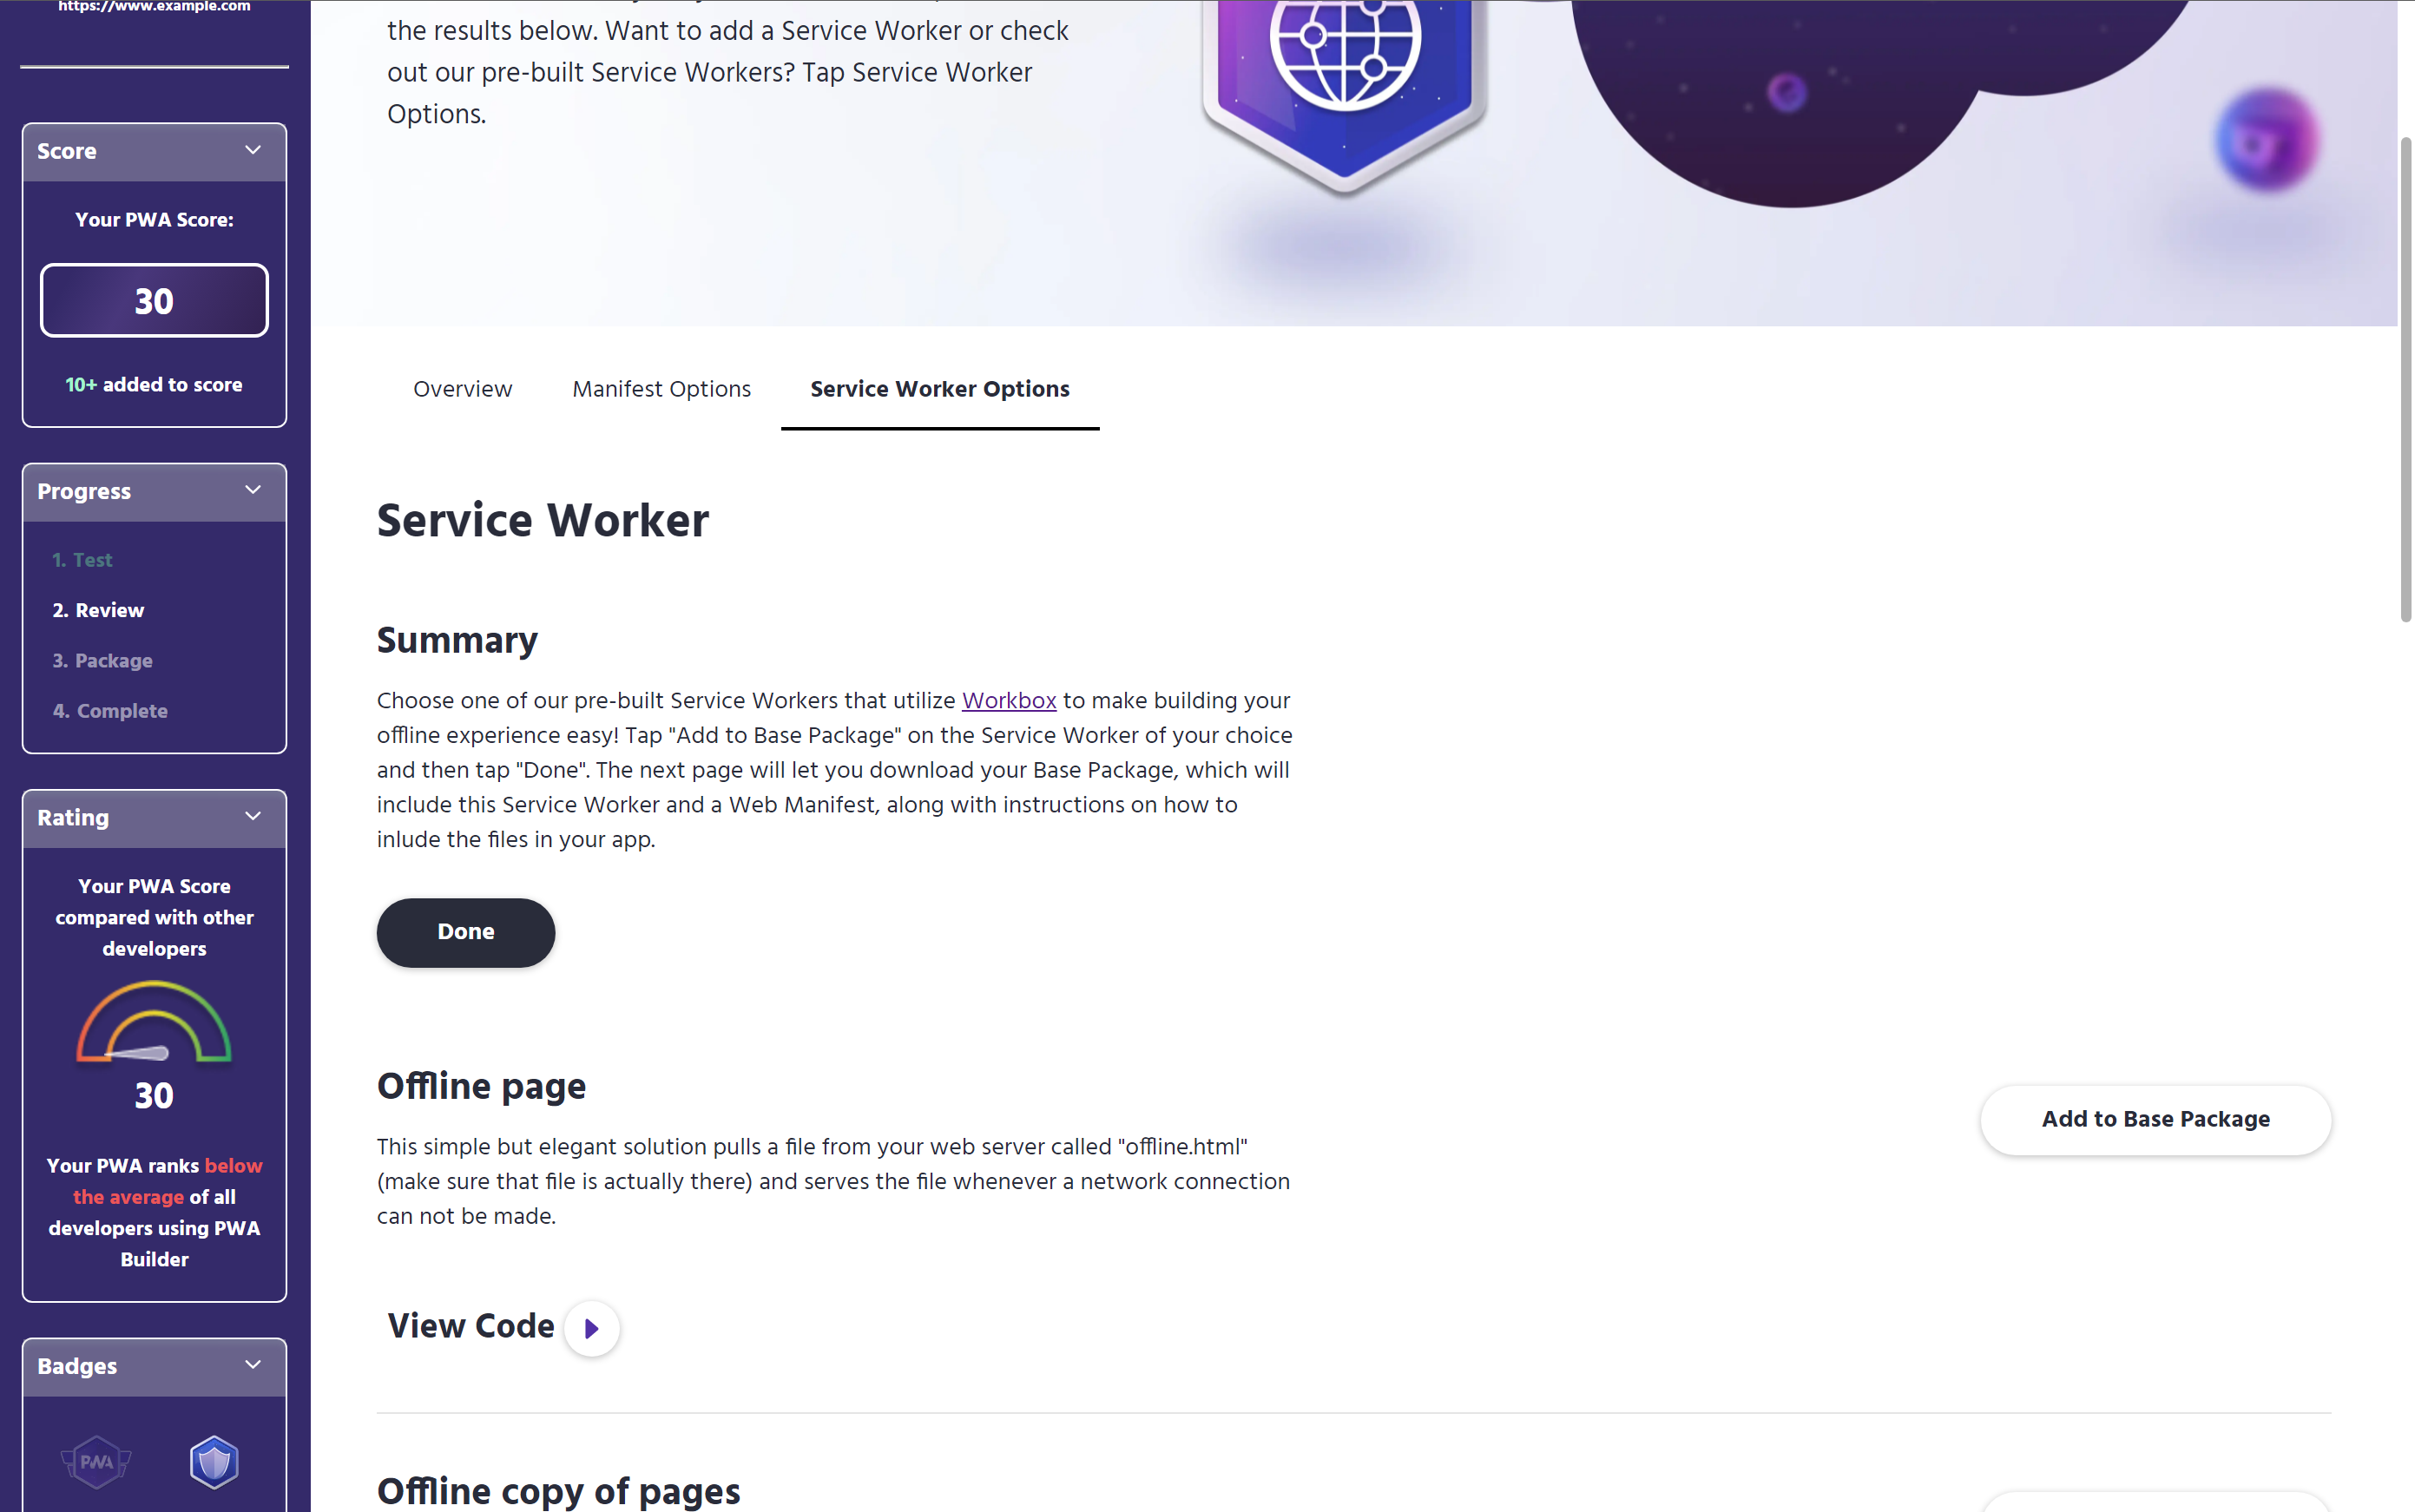
- Tap the Done button and then Tap the Service Worker score bar, just as you did with the Manifest score bar before. This will take you to a list of pre-built service workers that the PWABuilder team has put together.
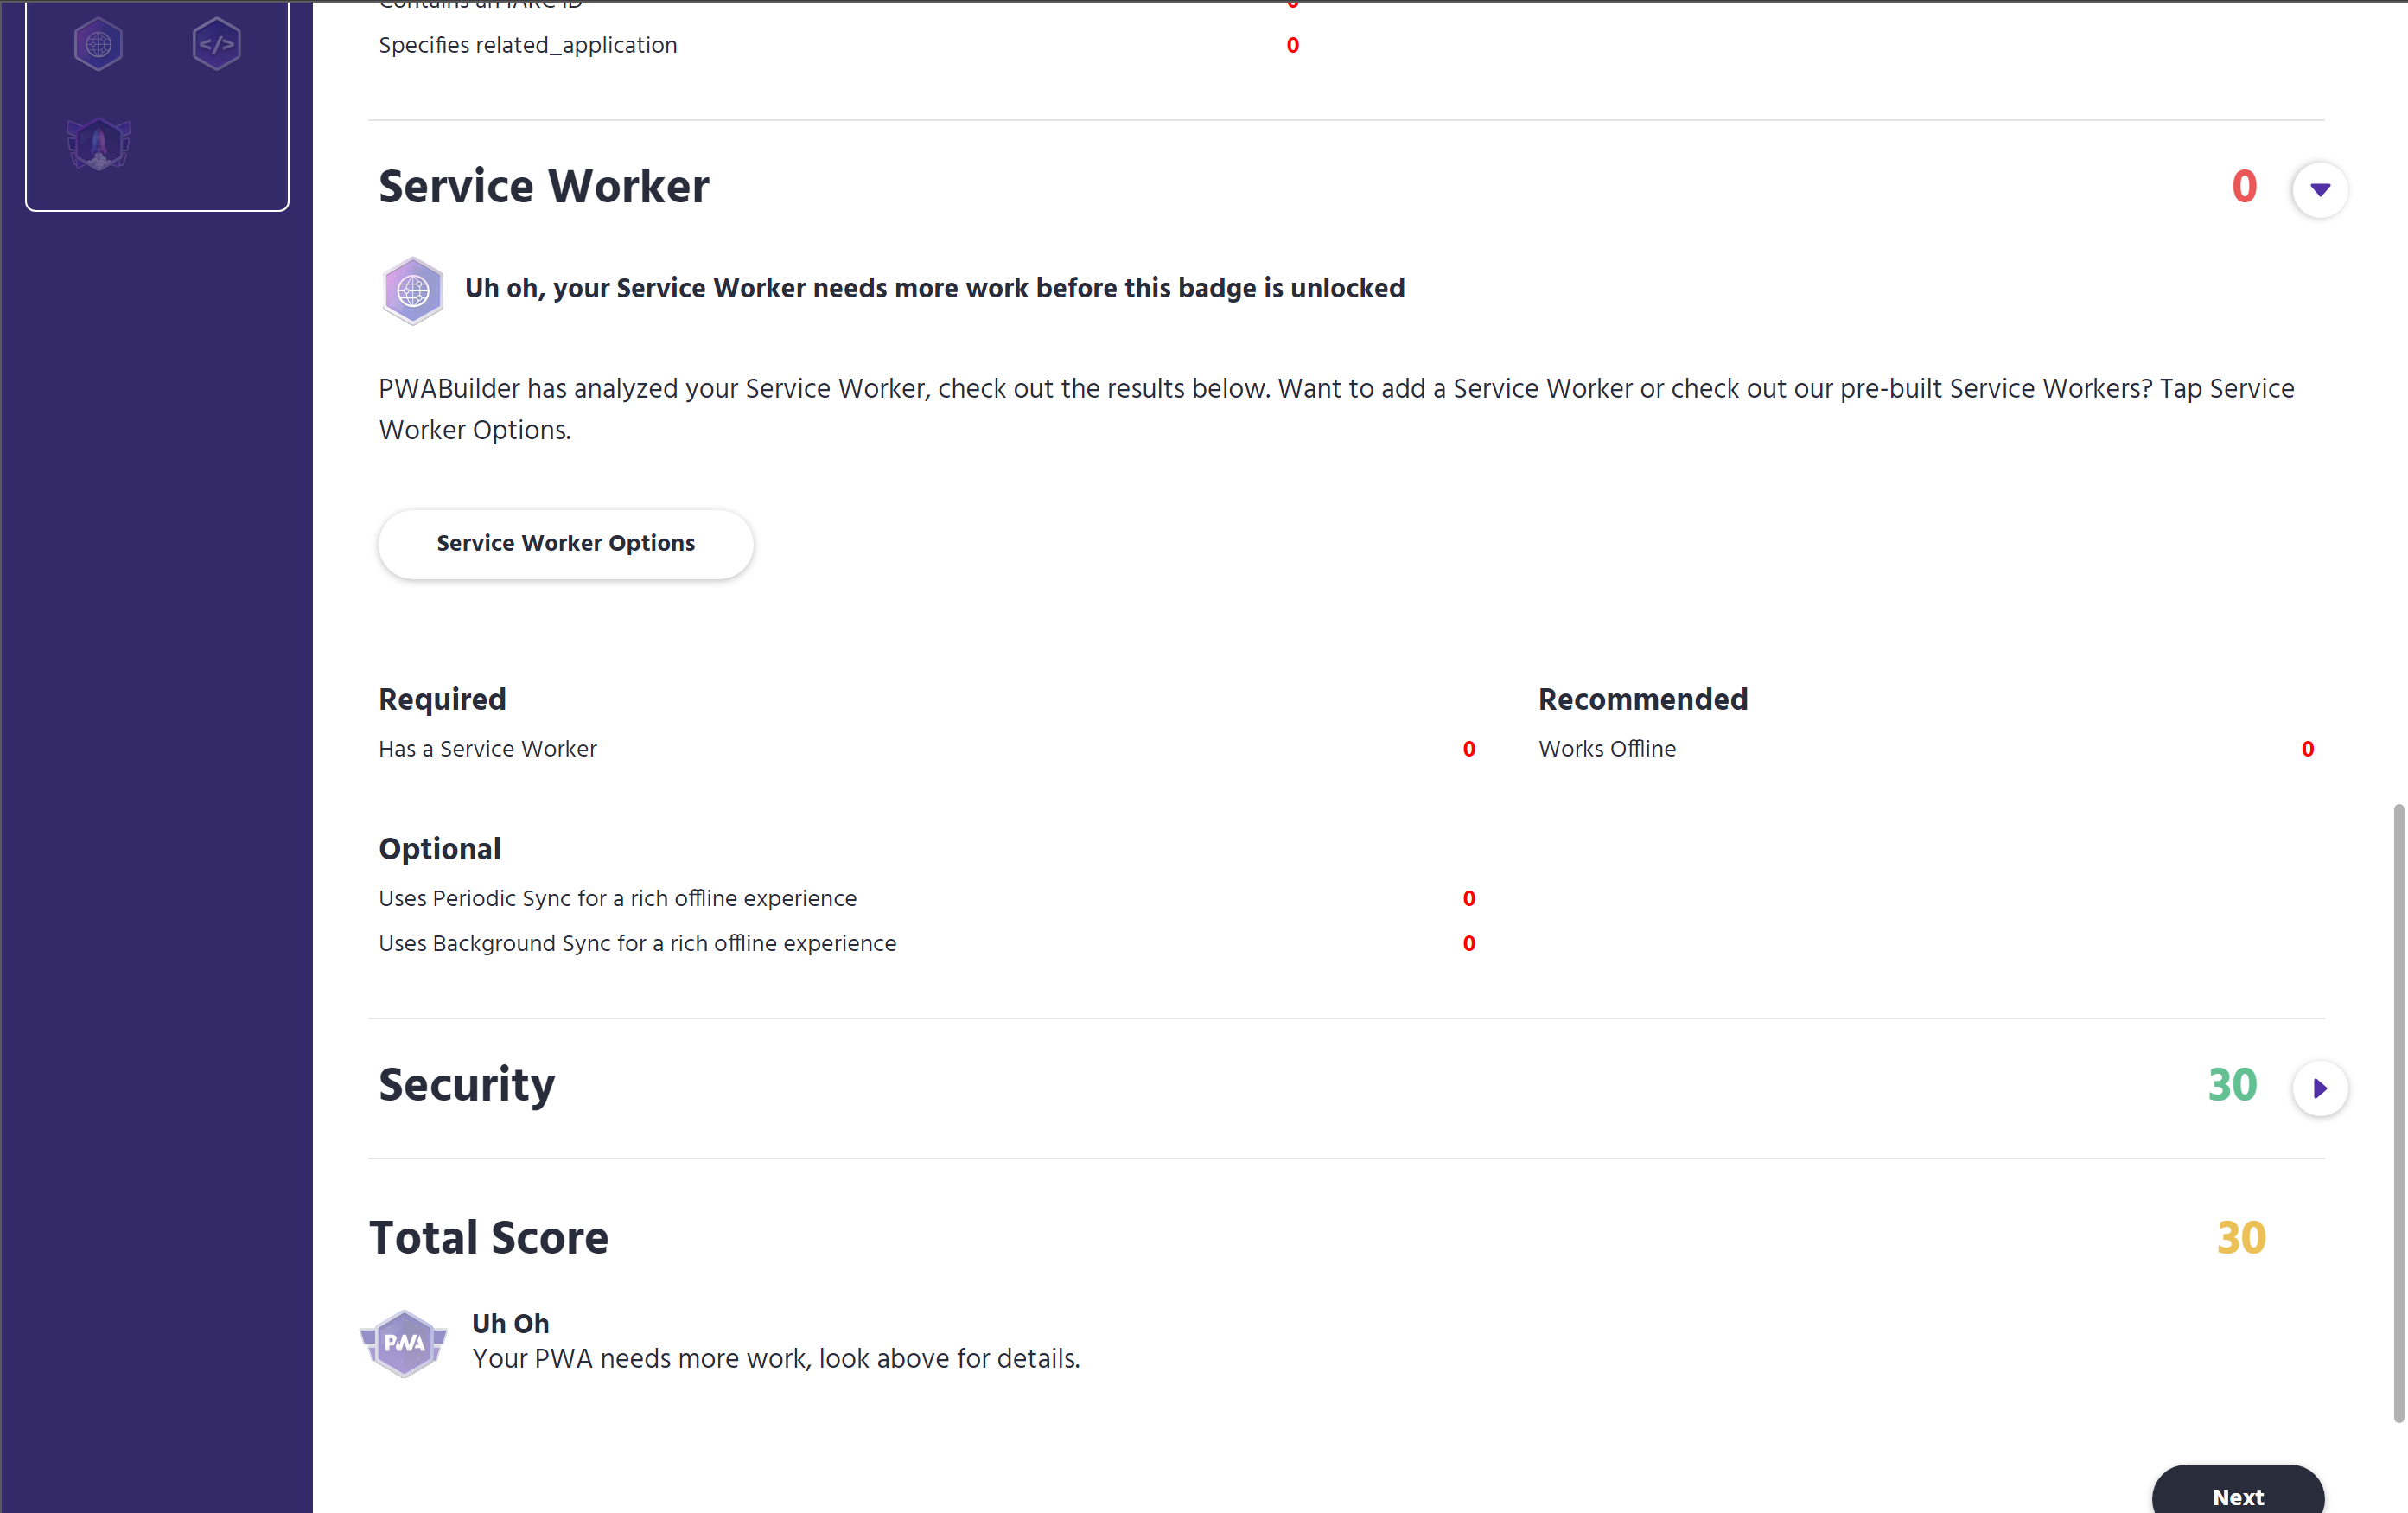
- You can now choose the service worker that sounds best suited for your application by tapping the “Add to Base Package” button. After this tap the “Done” button.
- You should now be back at the review page. We are now ready to go forward, so tap the “next” button.
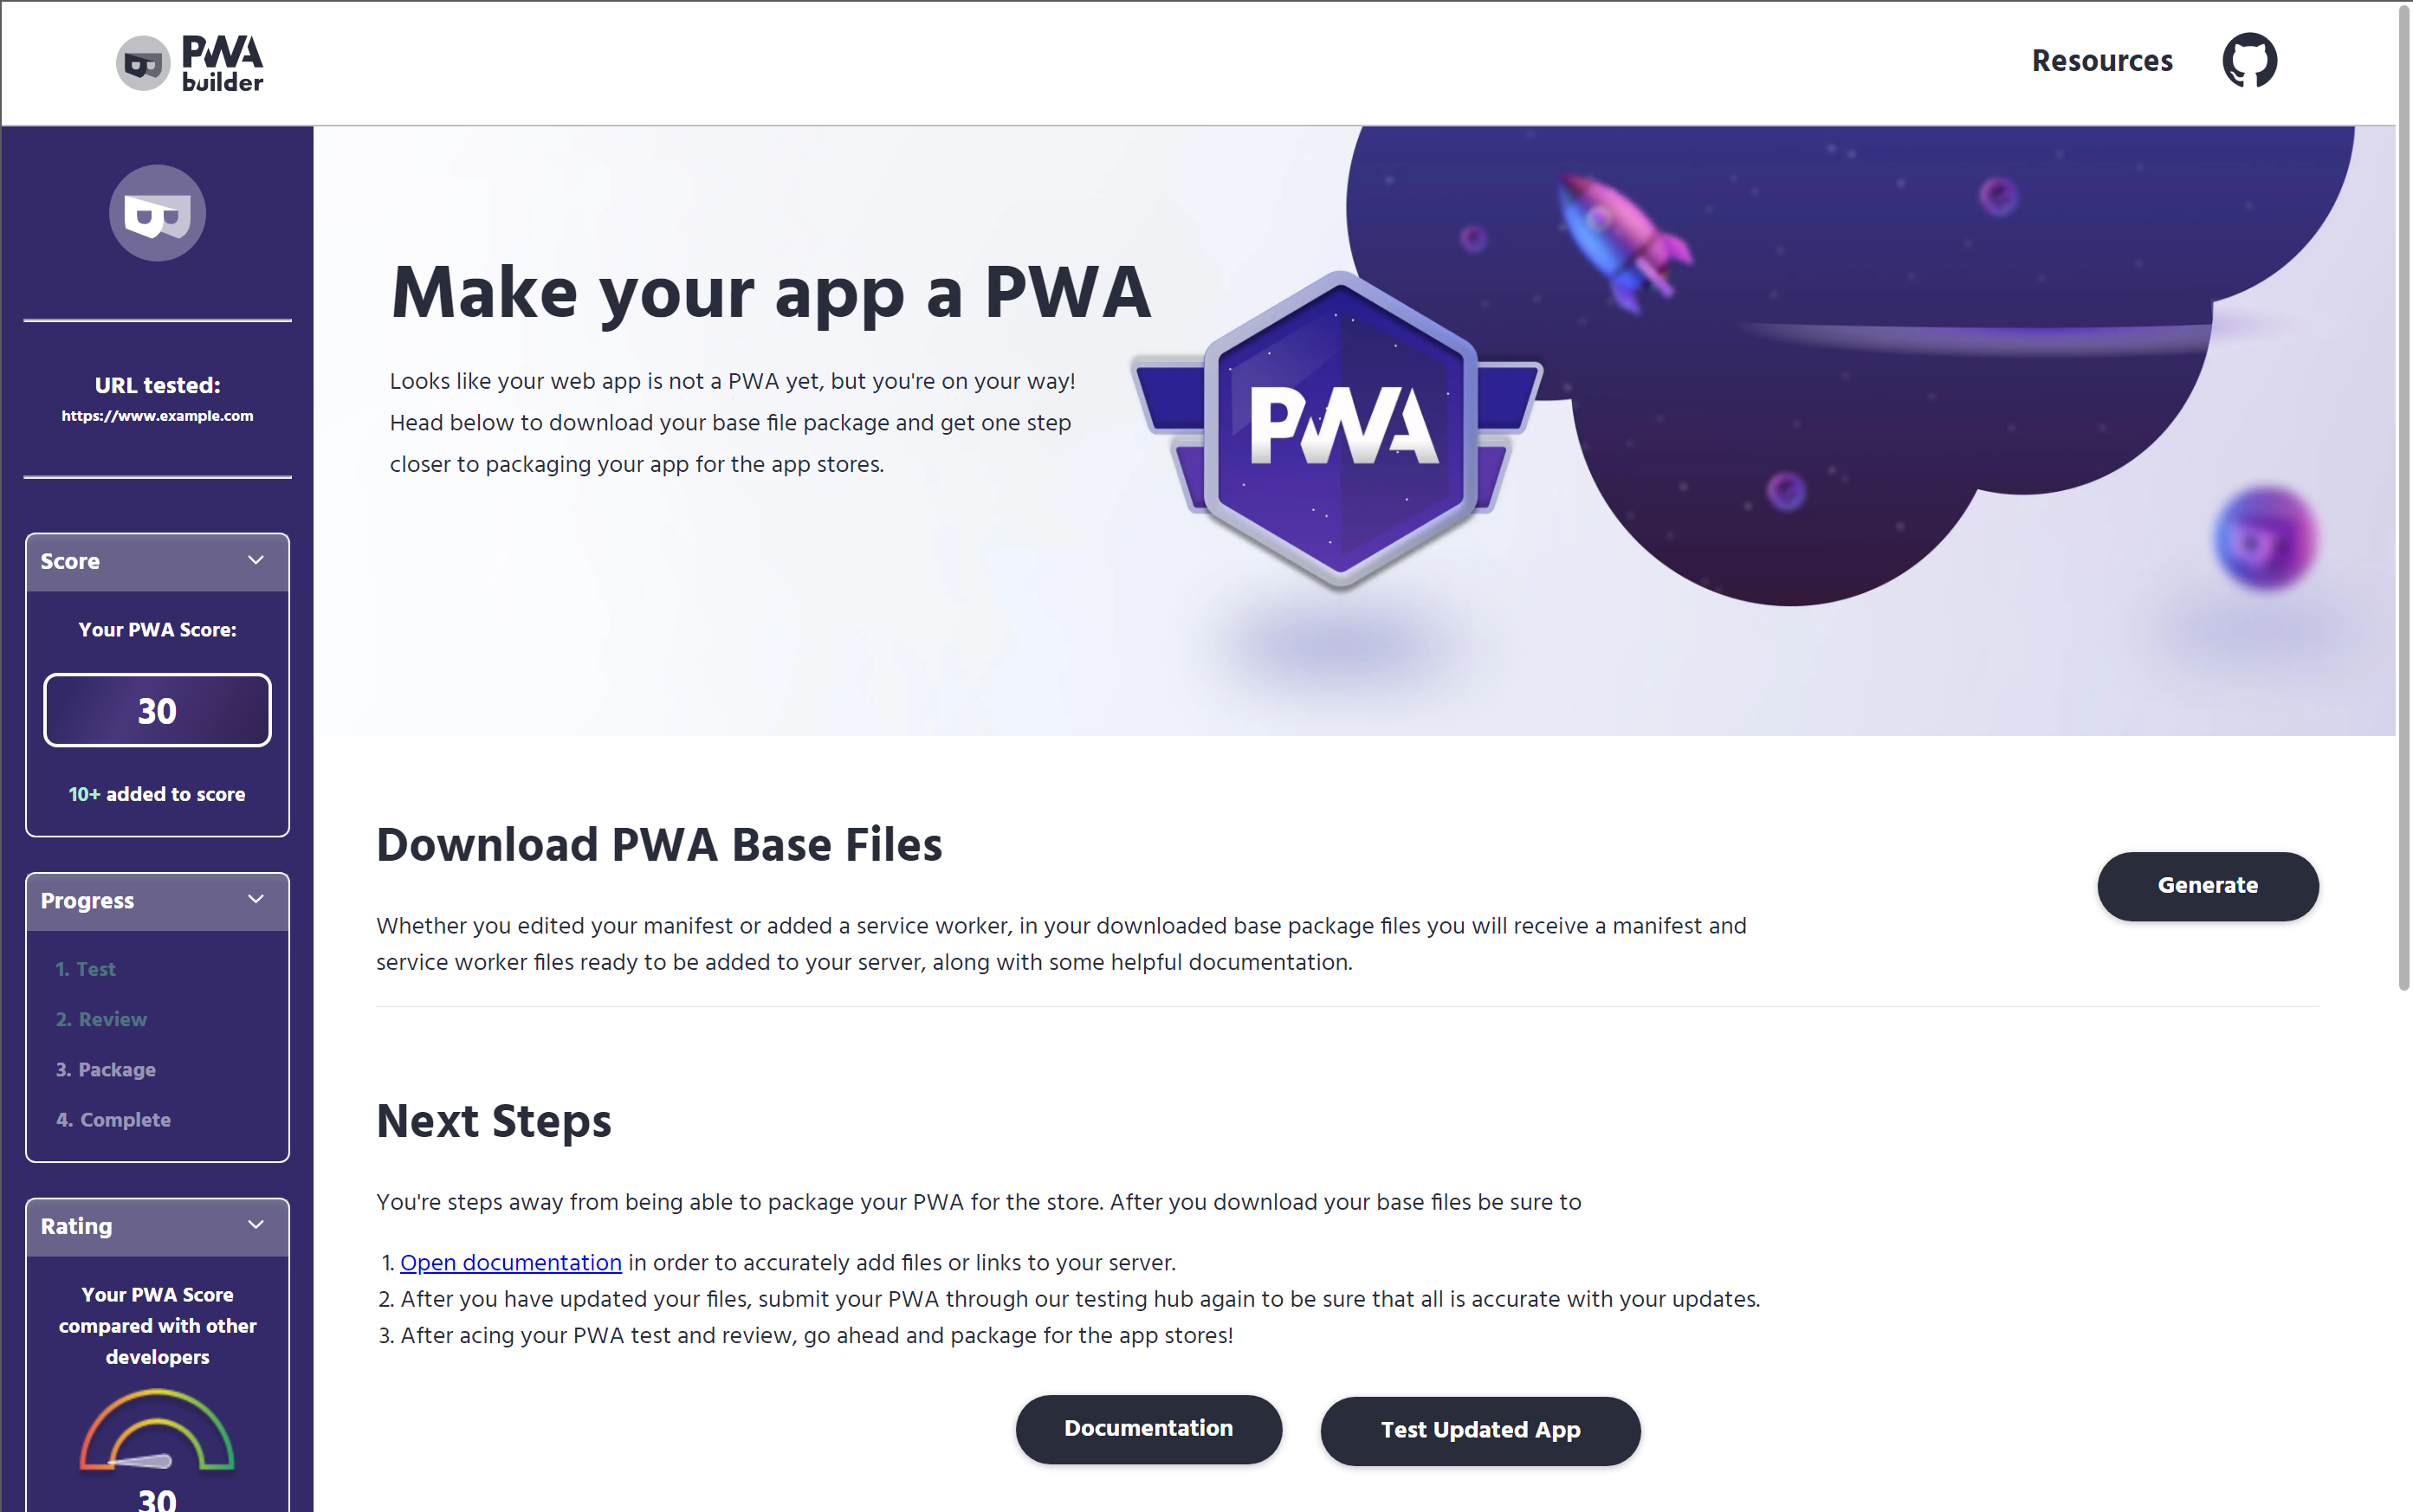
- You are almost ready! You can now tap the “Generate” button which will generate your Manifest, Service Worker and Icons. Tap the “Download” button when it pops up. You are now ready to move to the next steps, adding these files and your icons to your web app to make it a PWA!
Next steps for building your Progressive Web App (PWA)
You’ve successfully generated a web manifest and service worker for your web app. Once you add these to your app, you’ll be a PWA that can be published to app stores. 😎
Your next steps:
- Upload
manifest.jsonto your server - Upload
pwabuilder-sw.jsto your server - Upload the
imagesfolder to your server - Add a manifest link tag to your HTML
- Add a service worker registration snippet to your HTML
Each step is explained below.
1. Upload manifest.json to your server
Your zip file contains manifest.json - this is your web manifest that contains metadata about your app, such as name, description, and more.
Upload manifest.json to the root directory of your web server, e.g. https://myawesomepwa.com/manifest.json.
2. Upload pwabuilder-sw.js to your server
Your zip file contains pwabuilder-sw.js - this is your service worker that can provide advanced functionality to your web app. For example, service workers can enable your app to work offline, do push notifications, cache your app’s files for faster load times, and more.
Upload pwabuilder-sw.js to the root directory of your web server, e.g. https://myawesomepwa.com/pwabuilder-sw.js.
3. Upload the images folder to your server
Your zip file contains a images folder containing all the image resources for your app. These images are referenced in your web manifest.
Upload the images folder to the root directory of your web server. When you’re done, you should have working URLs like https://myawesomepwa.com/images/app-icon-512x512.png
4. Add a manifest link tag to your HTML
Now that you’ve uploaded your web manifest file, your HTML page should load it.
In the <head> section of your HTML, add the following code:
<link rel="manifest" href="manifest.json" />5. Add a service worker registration snippet to your HTML
Now that you’ve uploaded your service worker file, your HTML page should register your service worker.
In the <head> section of your HTML, add the following code:
<script type="module">
   import 'https://cdn.jsdelivr.net/npm/@pwabuilder/pwaupdate';
   const el = document.createElement('pwa-update');
   document.body.appendChild(el);
</script>
Congrats, you’re a PWA!
If you’ve followed all these steps, congratulations, you’re a Progressive Web App (PWA)! 😎
To verify your app is a PWA, run your URL through PWABuilder again. PWABuilder will report a score for your manifest and service worker, acknowledging your PWA status.
Publish your PWA to app stores
As a PWA, your app can be published to App Stores like Microsoft Store (Windows), Google Play (Android), and more. Run your app URL through PWABuilder and follow the steps to publish to app stores.
Need more help?
If you’re otherwise stuck, we’re here to help. You can open an issue and we’ll help walk you through it.